
If I had to choose a favourite flavour pairing for desserts, coffee and chocolate would be among my top three choices. Chocolate is a classic, undoubtedly, and that small addition of coffee simply enhances the depth of flavour of the cake. More often than not, the added coffee does not stand out that intensely, but it simply adds another layer of flavour to the richness of chocolate.
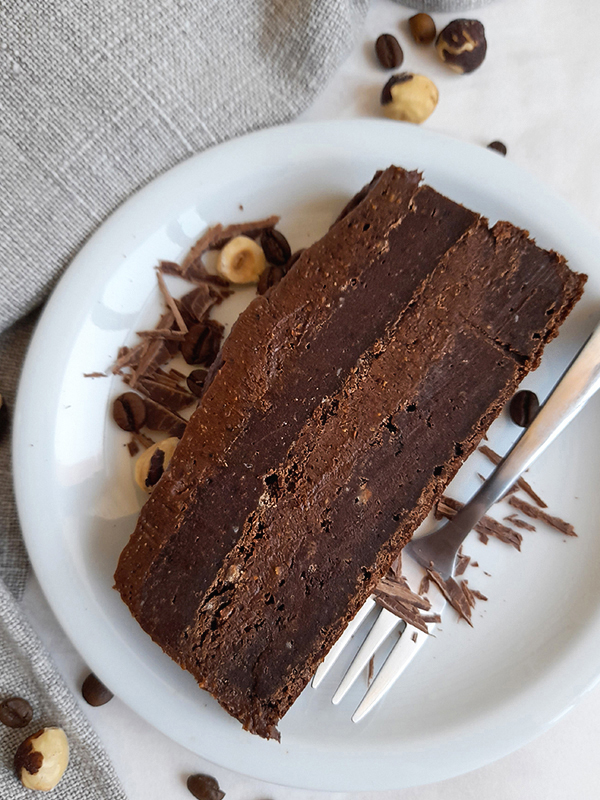
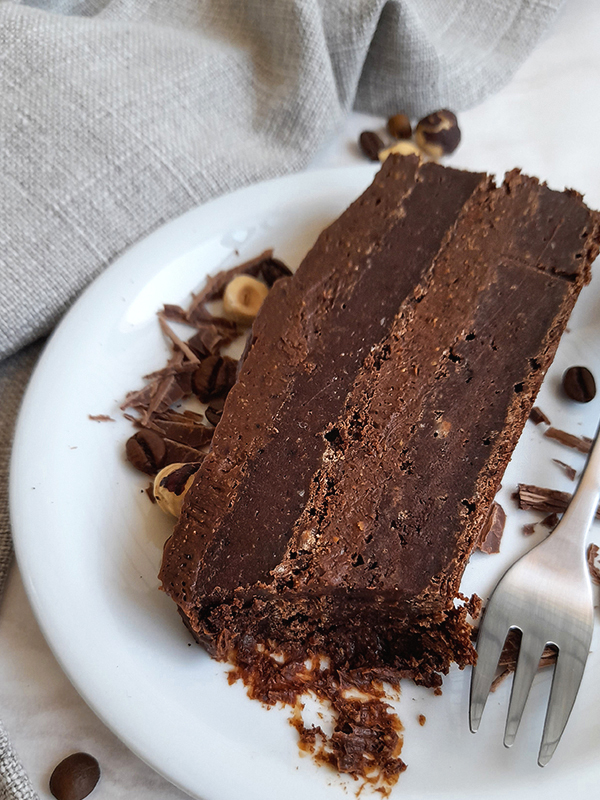
Here, however, the coffee flavour is quite prominent. I love coffee and the combination of good espresso, dark chocolate, and toasted hazelnuts is a dream come true, really. Fudge brownie layers sandwiched together by luscious chocolate and hazelnut ganache. Such bliss in a small dessert form.
The layers do need a bit of attention, though, so they do not dry out, as brownies do tend to overbake easily. They need to be baked as a pan of brownies would, until a toothpick inserted in the very centre comes out with tiny brownie crumbs, but not entirely clean. That will ensure they stay soft and fudgy.
As it is a very rich cake, serve it in modest slices, and as always, with a cup of good, strong coffee.
Ingredients
For the brownie layers
200 grams plain flour
35 grams unsweetened cocoa powder
3 teaspoons instant espresso powder
big pinch of salt
150 grams vegan block butter
150 millilitres soy milk
200 grams dark chocolate (at least 75%)
240 grams brown sugar
2 teaspoons vanilla bean paste
For the hazelnut fudge filling
300 grams vegan milk chocolate
200 millilitres plant double cream
100 grams hazelnuts, toasted and ground
1 teaspoon vanilla bean paste
small pinch of salt
Preparation
Start by making the fudge filling, as it needs plenty of time to cool down.
Chop up the vegan milk chocolate and place it in a large bowl. Pour the plant double cream into a saucepan, and place it over medium-high heat. Let it come to a simmer, remove from heat, and pour it over the chocolate. Cover the bowl and let it stand for a minute or two, then mix with a spatula or a whisk until the chocolate melts completely. Add in the toasted ground hazelnuts, and mix very well. Cover the surface of the filling snugly with a piece of cling film or baking parchment, and let it cool down first to room temperature, and then in the refrigerator for at least 4 hours.
To make the brownie base, start by sifting together the plain flour, cocoa powder, instant espresso powder, and salt. Set it aside for the moment. Dice the butter into a large saucepan, add in the chopped up the dark chocolate, brown sugar, and the soy milk, and place it over medium heat. Depending on the temperature of your milk and butter, it may take a bit of time to melt together.
Once everything is blended nicely, remove from the heat and stir in the vanilla. Add in the dry ingredients and gently stir until combined. Do not overmix the batter, as long as there are no large streaks of dry flour, it will be fine.
Line a rectangular pan (20x30 cm) with baking parchment, pour in the batter, and bake immediately in a preheated oven, at 180°C, for 12-15 minutes. Keep in mind that this is a brownie and a toothpick inserted in the centre should not come out completely clean, as that means it is overbaked. Once baked, remove from the oven, and let it cool down to room temperature.
When the base is cool to the touch, proceed to assemble the cake.
Take the filling out of the refrigerator, let it sit for about 10 minutes at room temperature, and then whip it with an electric mixer on high, until very smooth and thick. Divide it into two parts. Slice the brownie base into two pieces widthways and place the first piece on a cake platter. Spread half of the filling onto it, and then top with the remaining piece of the brownie base. Spread the rest of the filling on top and the sides.
Place the cake into the refrigerator for at least 8 hours, so the flavours can meld together. When ready to serve, take the cake out of the refrigerator and leave it at room temperature for 15-20 minutes, so it is easier to slice and enjoy. Yields 10 rich servings.